Lotion bars and everything bars are among the most popular products in the whole universe right now. They have mainly started from artisanal labs because they are much easier to make, test and pack and wrap (compared to lotions and creams), because they don't need a huge investment in instruments and because the process of safety assessment is relatively easier, faster and cheaper. Adding to all above the fact that since they do not contain water, they are self preserving and are usually exempt from challenge testing that makes them a superhero for startups and artisanal manufacturers.
They are so popular that even the big boys of the industry are now aping the artisanal manufacturers and spiting lotion bars out of their fabrics in huge quantities. Of course none of the industrial lotion bars have the charm and beauty of the cute ones that are made with love and by applying colourful oils, butters and plant extracts. This is the one section that novice formulators and artisanal manufacturers can grow fast and leave the big boys with their huge budgets in commercials and ads light years behind.
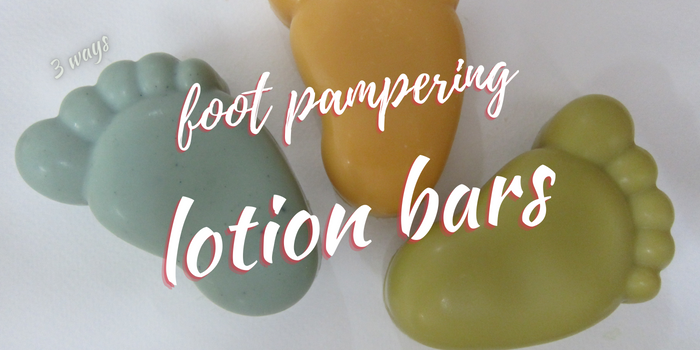
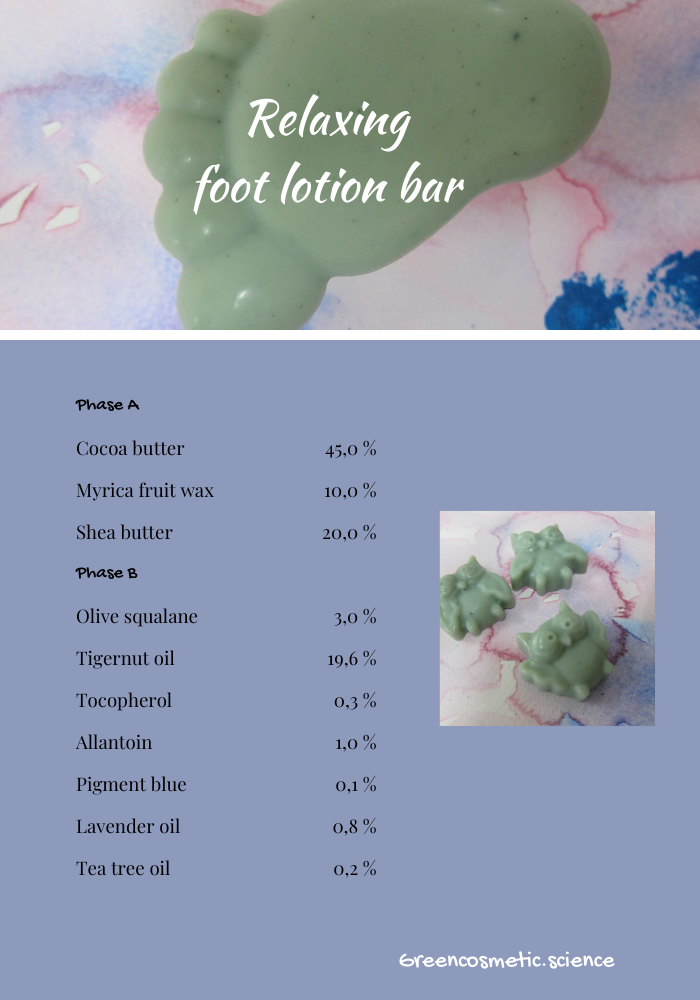
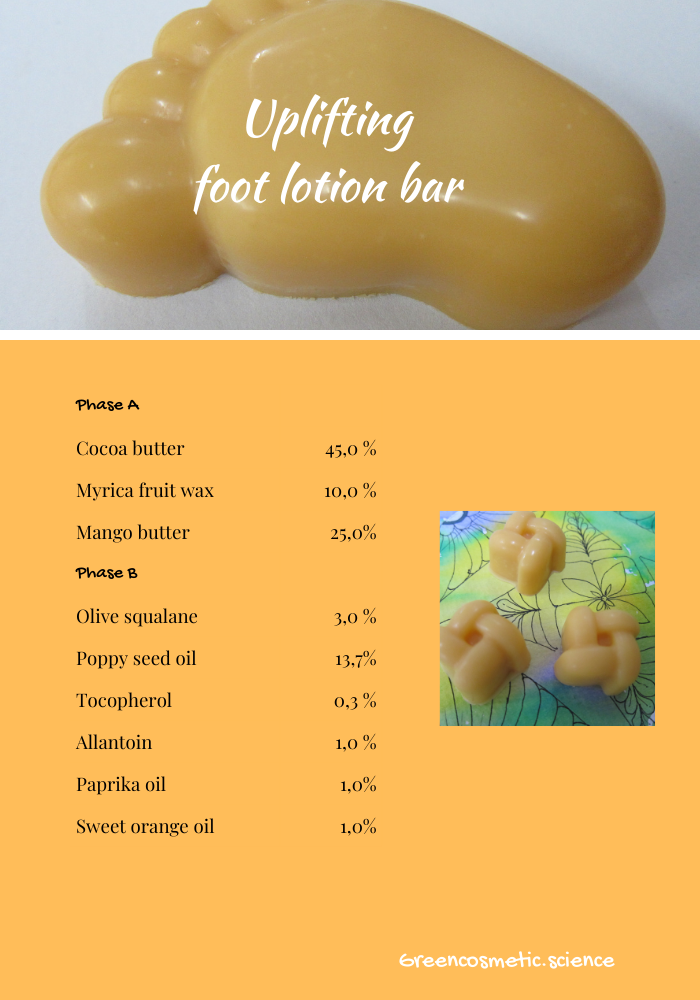
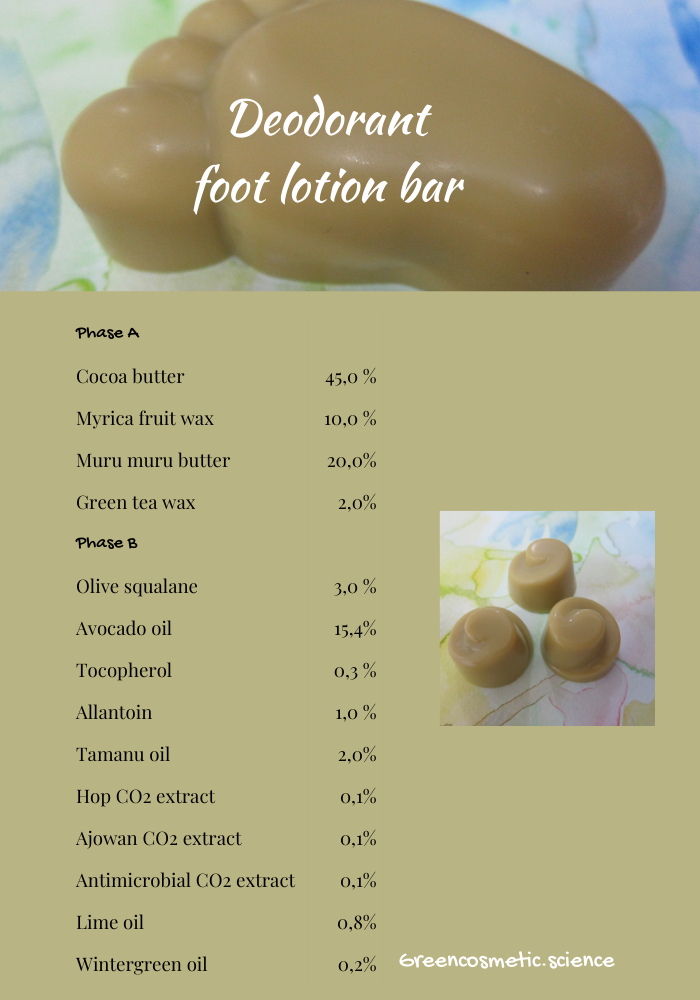
In this post we are introducing 3 cute lotion bars for the foot. We really had the well-being of feet in head when we prepared these lotion bars but that doesn't mean that you can not use them for legs or other parts of the body.
If you are a DIYer you can create a zillion varieties of these cute bars and give them away at any given occasion such as mother's or father's day, birthdays, teacher's gift and many other occasions.
If you are an entrepreneur and want to team up with a podiatry praxis or a pedicure salon to bring these bars to customers who will fall in love with them you can have two approaches according to the agreement you make with the salon:
1- Make them in very tiny forms so that they use one piece per each customer
2- Make them in slightly bigger forms so that they can giveaway or sell the rest to the customer (because obviously they can not use these for several people)
Now I am not a sales or marketing expert and that is something you need to discuss with your marketing coach.
I can only show you how to make them and can share you in my team's joy and cheerfulness when we make them. Feel free to use these formulations as an inspiration and add your signature ingredient or plant extract and make it your own formulation. I would love to see your creations on social media. Do not forget to tag #Skinchakra when you share your creations with the world.
Procedure:
For all 3 versions
1- Heat phase A in a water bath around 65 C
2- Blend phase B in another beaker
3- When phase A is melted stop heating and start cooling while stirring
4- At a temperature <45 C add phase B and continue cooling and stirring till coming to a medium trace
5- Pour in the mold cavities and put in the fridge for a few hours